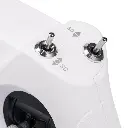
BetaFPV LiteRadio 2 SE Radio Transmitter Mode 2 ELRS 2.4G
From Simulator to Real Drone with the BetaFPV LiteRadio 2 SE Radio Transmitter Mode 2 ELRS 2.4G
The BetaFPV LiteRadio 2 SE Radio Transmitter Mode 2 ELRS 2.4G is a gamepad-shaped radio with a built-in ExpressLRS 2.4G transmitter, designed with beginner FPV drone pilots in mind. It works in Mode 2 (throttle on the left stick), has 8 channels and 4 switches, and transmits at up to 100mW. It ships with ELRS V3.0.0 firmware, so it works with ExpressLRS 2.4G receivers running version 3.x. The built-in 1000mAh 1S battery lasts about 8 hours and charges over USB-C. Through the same port you can connect the radio to a Windows computer or an Android device and fly in simulators such as VelociDrone, Liftoff or DJI Virtual Flight, and update or configure it in BETAFPV Configurator.
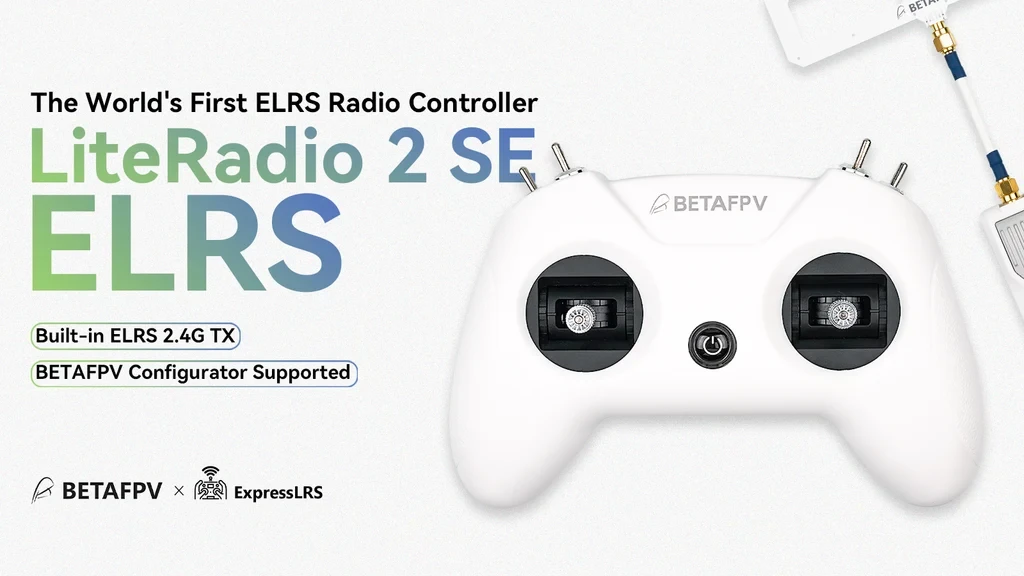
BetaFPV LiteRadio 2 SE Radio Transmitter Mode 2 ELRS 2.4G Key Features
Long Battery Life
The built-in 1000mAh 1S battery lasts about 8 hours. You can get through several flying and simulator sessions on a single charge.
Easy Charging
You charge the radio with a USB-C cable from a 5V charger. There is no separate charger or spare battery to carry, and the LED and buzzer remind you when the battery runs low.
Familiar Grip
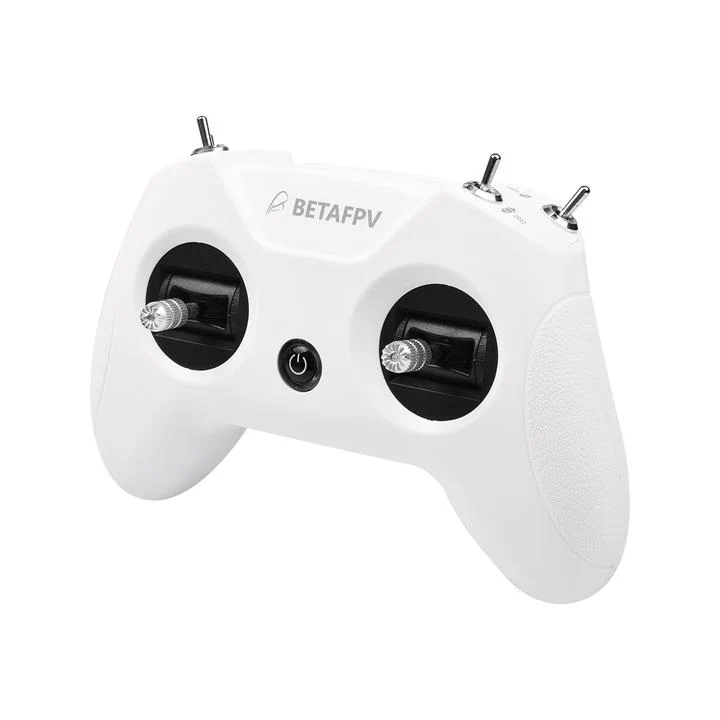
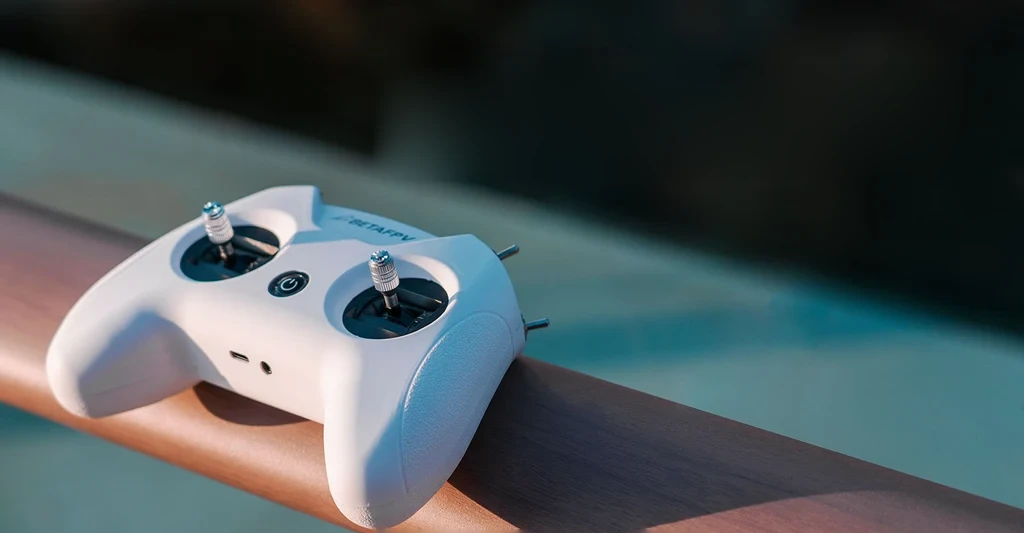
The gamepad-shaped body has a rubber coating with an anti-slip texture on the handles. It sits securely in your hands, so it is easier to focus on flying.
Simulator Practice
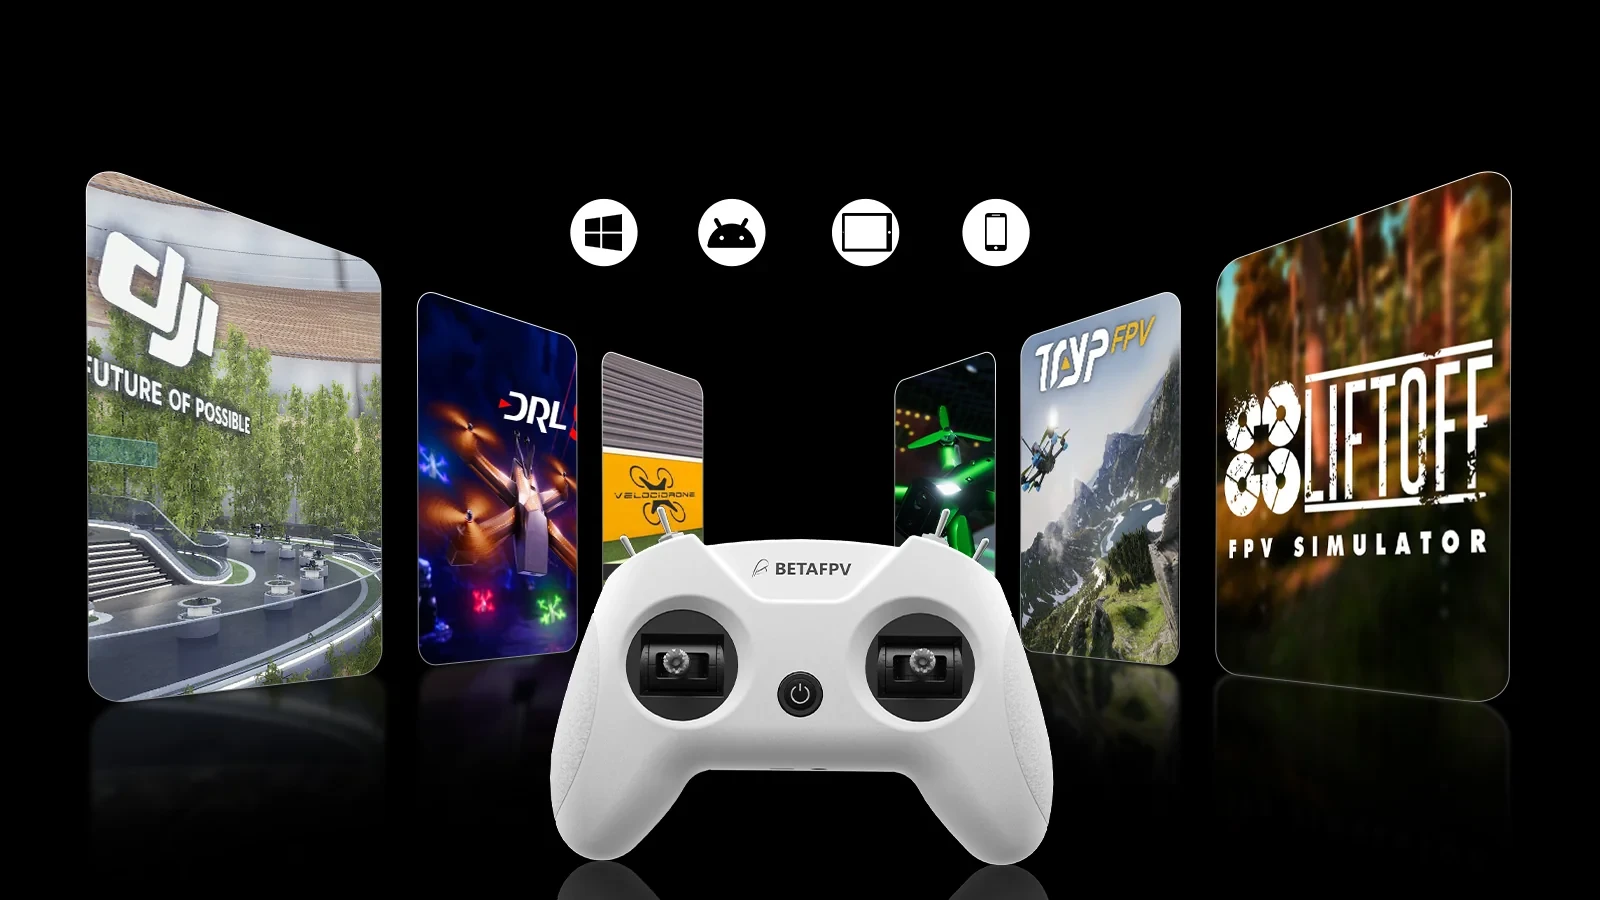
It works with VelociDrone, Liftoff, TRYP, DRL, DCL and DJI on Windows and Android. You practise with the same radio you will later fly a real drone with.
ExpressLRS Link
A built-in ELRS 2.4G transmitter with up to 100mW of power, shipped with ELRS V3.0.0 firmware. No external module is needed, just an ExpressLRS 2.4G receiver running version 3.x.
Easy Configuration
Updates and settings are handled in BETAFPV Configurator on Windows, macOS and Linux. You can even calibrate the sticks without a computer, using the SETUP button on the radio.
One Controller for Many FPV Simulators
Connect the radio with a USB-C cable to a Windows computer or an Android phone or tablet and practise in simulators such as VelociDrone, Liftoff, TRYP, DRL, DCL or DJI. In Joystick mode the system sees it as “BETAFPV Joystick”, and Xbox mode lets it work with DJI Virtual Flight on Windows.
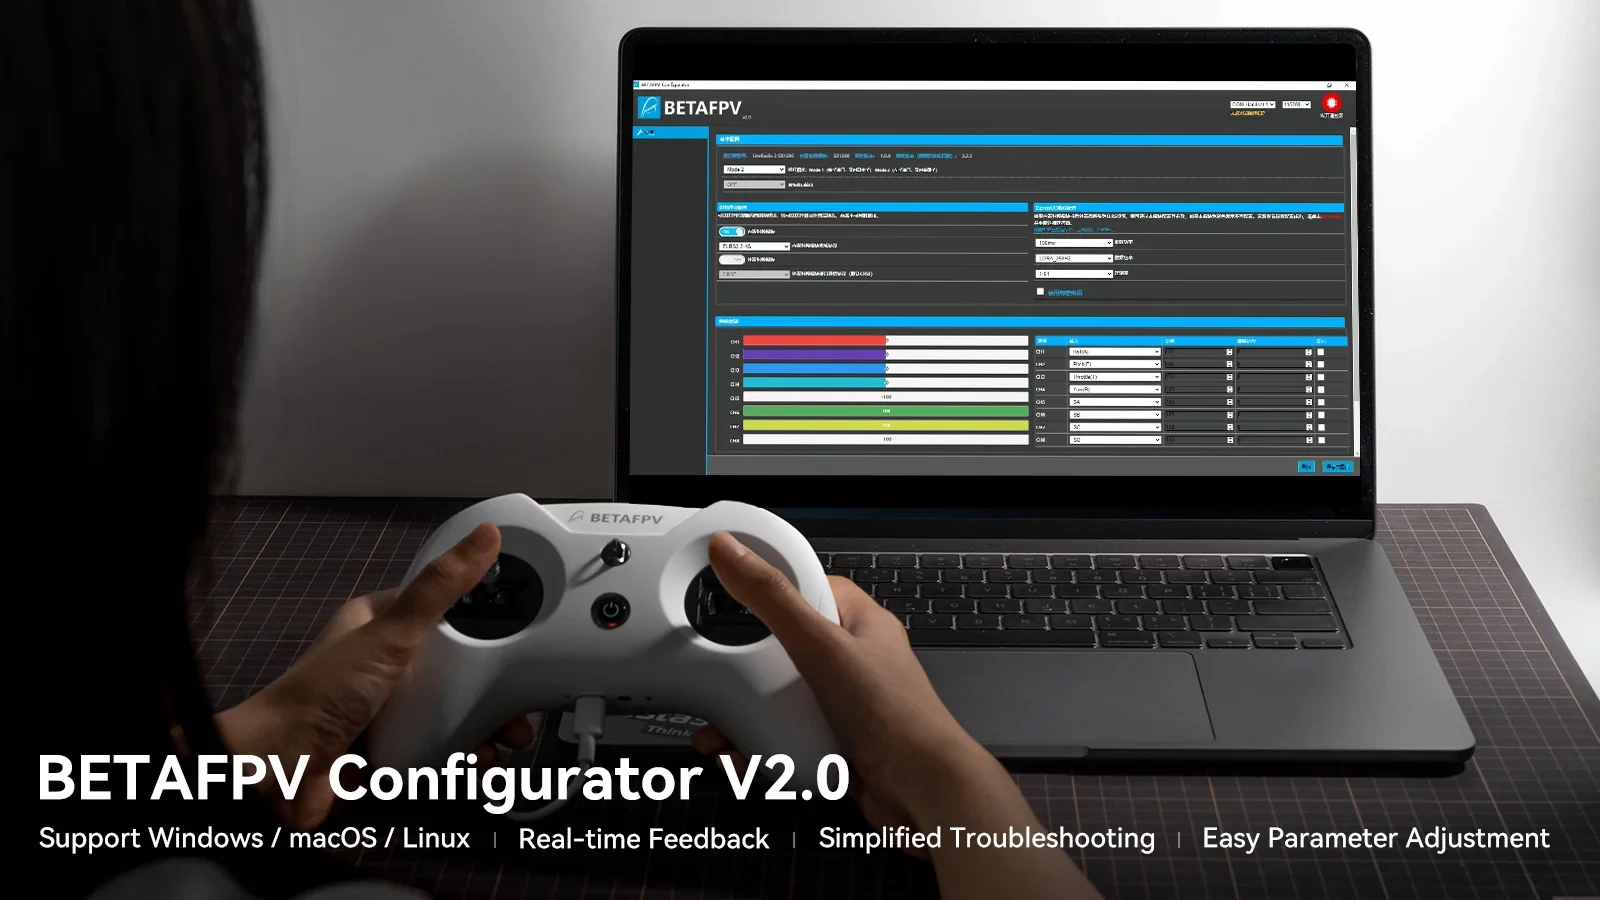
Updates and Settings in BETAFPV Configurator
BETAFPV Configurator is an open-source program for Windows, macOS and Linux for updating, configuring and fine-tuning the radio. You use it to flash new firmware, check the firmware version and change the channel settings, all over a regular USB-C cable. Connect the radio to the computer while it is switched off, otherwise the USB port will not work.
As Comfortable as a Gamepad
The gamepad-shaped body is covered in rubber, and the anti-slip texture on the handles gives you a secure grip. You charge the built-in battery over USB-C, and when the voltage drops below 3.5V, the LED and the buzzer remind you to recharge.
Frequently asked questions - BetaFPV LiteRadio 2 SE Radio Transmitter Mode 2 ELRS 2.4G
Yes. The manufacturer designed it with beginner RC pilots in mind and supplies it as the radio in its Aquila16 and Cetus series ready-to-fly FPV kits. The gamepad shape and simulator support make learning to fly easier.
With ExpressLRS 2.4G receivers. The radio ships with ELRS V3.0.0 firmware, so the receiver needs to run the same major ELRS version (3.x).
The built-in 1000mAh 1S battery lasts about 8 hours. You charge it with a USB-C cable from a 5V charger; the LED breathes red while charging and green when the radio is fully charged.
Switch the radio off and connect it with a USB-C cable to a Windows computer or an Android device; the system recognises it as “BETAFPV Joystick”. For Xbox mode (e.g. DJI Virtual Flight on Windows), hold the left stick in the lower right corner and the right stick in the lower left corner while connecting; the LED flashes white 3 times. DJI Virtual Flight requires firmware V24.11.8 or newer.
Use BETAFPV Configurator for Windows, macOS or Linux, available on the manufacturer's GitHub. Connect the switched-off radio to the computer with a USB-C cable, wait until the LED starts breathing, then click “Connect Radio Controller” in the program.
The throttle stick or the switches are not in their lowest position. Move them all the way down and the LED turns blue.
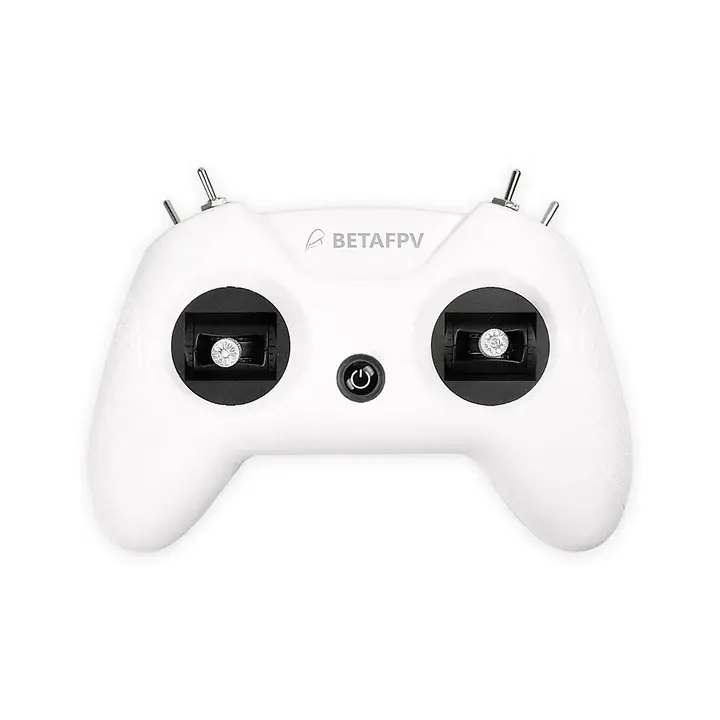
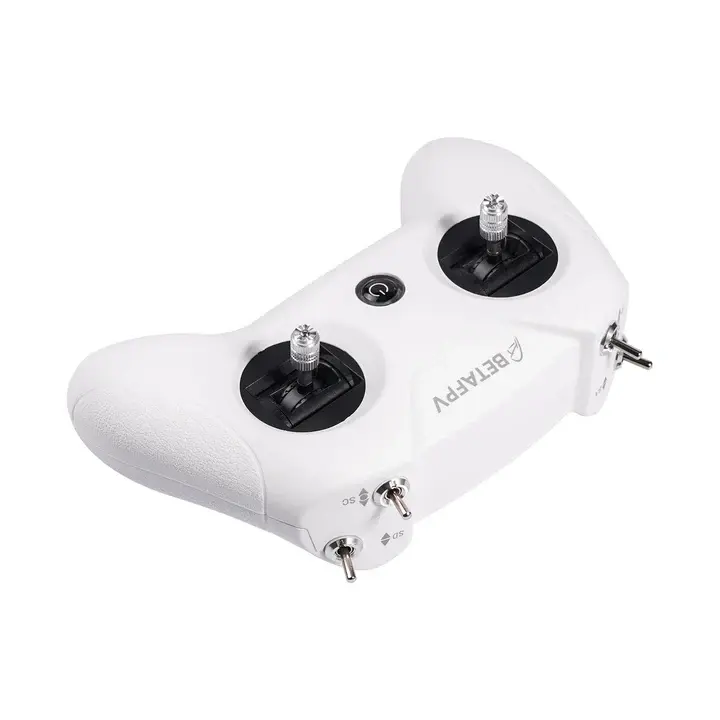
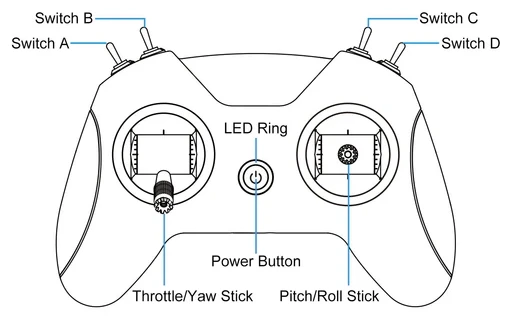
BetaFPV LiteRadio 2 SE Radio Transmitter Mode 2 ELRS 2.4G Layout
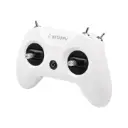
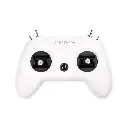
Front
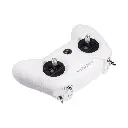
Back
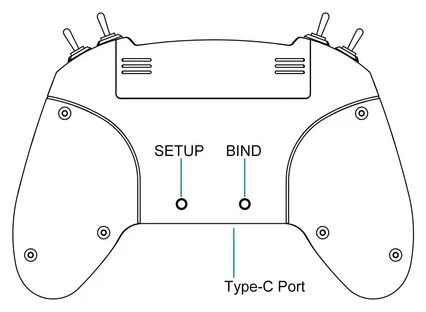
- Power button: hold for 3 seconds to switch the radio on or off.
- BIND button: puts the switched-on radio into binding mode.
- SETUP button: starts stick calibration on the switched-on radio.
Binding and Calibrating the BetaFPV LiteRadio 2 SE Radio Transmitter Mode 2 ELRS 2.4G
Binding
- Switch the radio on and wait until it has fully started; the LED ring is solid blue.
- Put your receiver into binding mode.
- Press the BIND button on the back of the radio; the LED ring flashes red quickly.
- After about 5 seconds the LED ring turns solid blue again. If binding failed, repeat the steps.
Stick Calibration
- After switching on, press the SETUP button on the back; the red LED flashes quickly and the radio enters calibration mode.
- Centre both sticks and press SETUP again; after three beeps the centre position is saved.
- Move each stick to its top, bottom, left and right limits, holding each for 1-2 seconds, then press SETUP once more; a long beep means calibration is complete.
BetaFPV LiteRadio 2 SE Radio Transmitter Mode 2 ELRS 2.4G Specification
Stick Mode | Mode 2 (throttle on the left stick) |
Protocol | ExpressLRS 2.4G |
Firmware | ELRS V3.0.0 (factory) |
RF Chip | SX1280 |
Frequency | 2.4GHz |
Transmit Power | up to 100mW |
Channels | 8 |
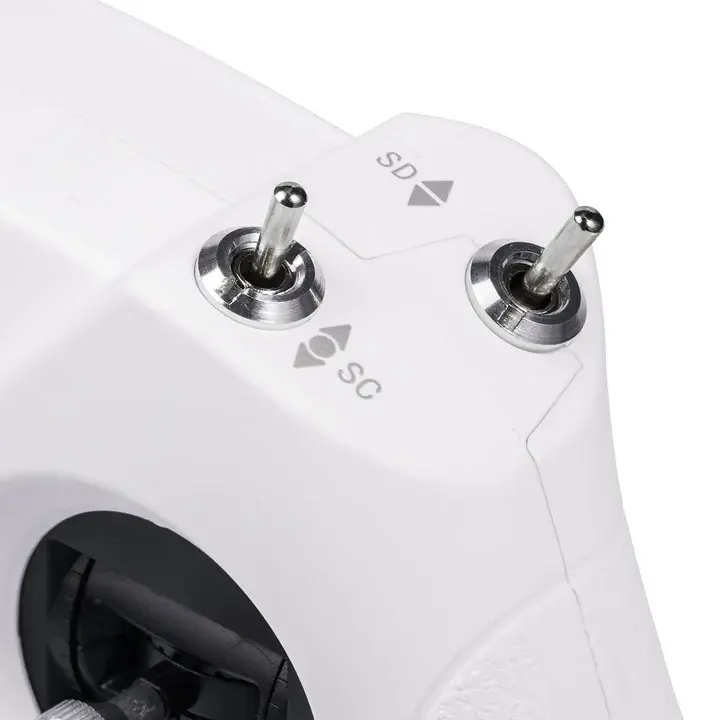
Switches | 4 (SA, SB, SC, SD) |
Battery | Built-in 1000mAh 1S |
Operating Time | approx. 8h |
Charging | USB-C (5V) |
Simulators | Windows, Android (Joystick and Xbox mode) |
Configuration | BETAFPV Configurator (Windows, macOS, Linux) |
Model Type | Multirotor |
Color | White |
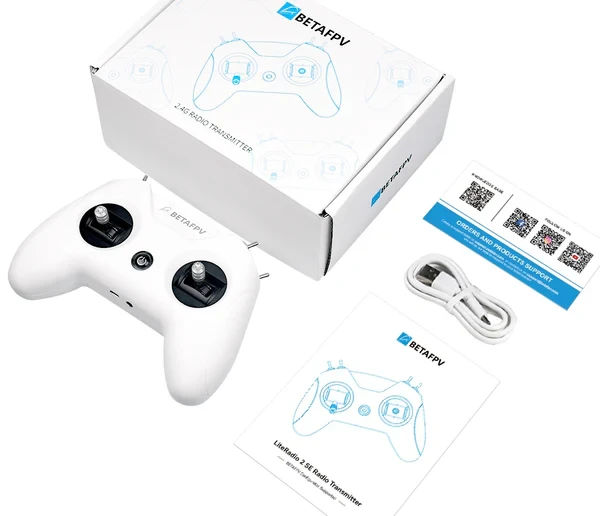
BetaFPV LiteRadio 2 SE Radio Transmitter Mode 2 ELRS 2.4G Package Includes
- 1x BetaFPV LiteRadio 2 SE Radio Transmitter
- 1x User Manual
- 1x USB Type-C Cable